Replicating a music video with Shaders


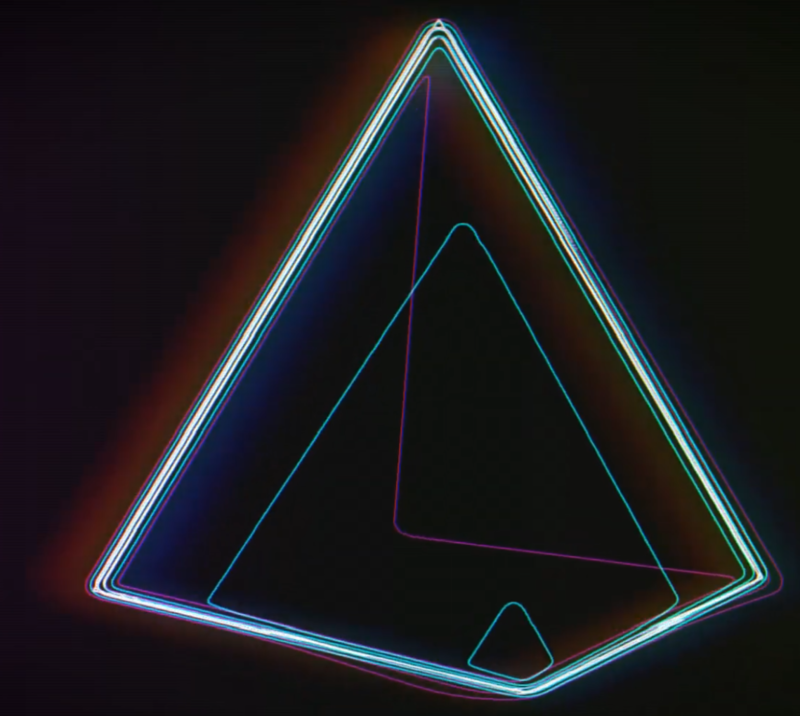
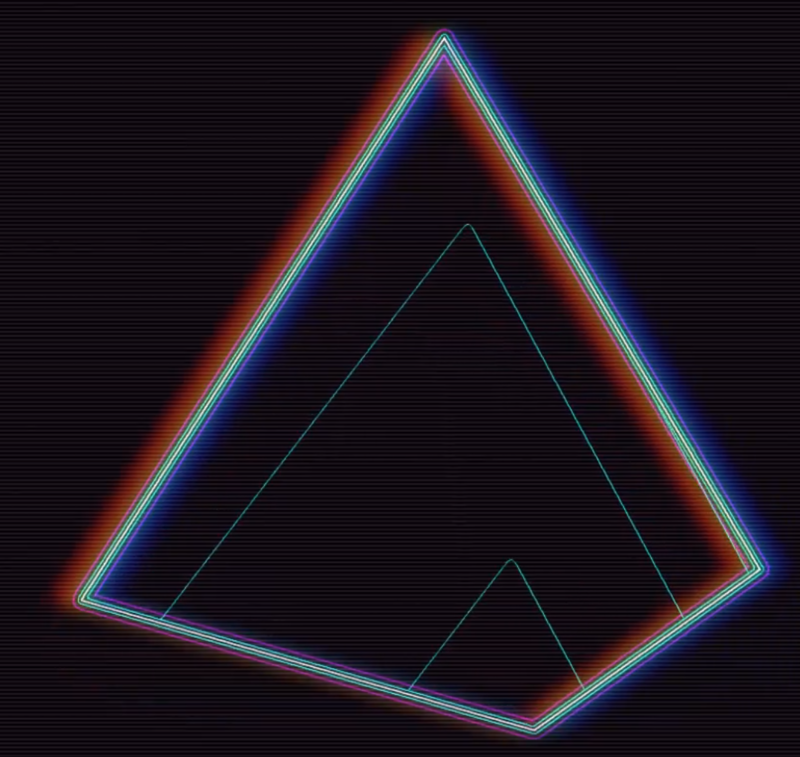
Comparing the music video(left) to our shader(right).


During the first semester of Software Development at Dania Games we had to create our own interactive Unity Shader. It had to use at least a couple of post processing effects, custom frame buffers and interact with Unity’s lightning system.
Together with Oliver Vejen, we wanted to challenge our selves and create a pretty advanced shader. While brainstorming we found a cool music video which we thought would be a good challenge to try and replicate. This then became our goal for the project.
Complete shader breakdown video
Development
During the project we worked together using Unity Colab. When working on the shader we mostly worked with pair programming to help us learn faster.
White outline
We wanted to start with the easiest part of the shader first: the white outline. This was because an outline shader was pretty standard in a lot of games, so there are many resources on how to create this. While developing this stage of the shader we discovered a problem. In the music video the outlines between shapes are merging together when the objects come close to each other. Most outline shader don’t do this and actively try to prevent it. But with some tweaking we finally got it working.
Staggered outlines
The next stage was the rounded colored outlines seen extending from the normal white one. We knew from the beginning we couldn’t make them as squeakily as the lines in the video, but we would try to emulate them as close as possible.
We decided to base this shader stage on the previous outline stage. The outline was blurred with a modified Gaussian blur and then a modulation filter was used to apply the correct color on the lines. A lot of tweaking was required to reach the best rounding vs performance. We ended up applying a second Gaussian blur to enhance the lines further.
Depth lines
The shapes in the music video also have depth lines matching the outer lines in style. These seem to be frozen in space and show an outline where the shapes intersect with them. Almost like a laser coming from all sides. This was difficult to implement.
By using a normal map generated by the scene camera and mixing in some inverse matrix math we were able to get each pixels global position in the world. From this we could use modulation and a threshold to create the lines at a set distance in the world.
Color separation and CRT filter
The last stage of the shader was to create the old CRT effect seen in the music video (can be hard to see due to video compression). First we separated the color with a filter that worked similar to the Gaussian blur filter, but with each color being blurred to separate distance. The CRT stripes were simply created via modulation on the y-axis.
Simple game concept
To try out the shader we made a very simple game which can be seen in the breakdown video at 02:05.
Personal takeaway
During this project I got a lot of experience working with shaders. I got to create shaders using various different techniques which taught me a lot in terms of GPU optimizations and how to debug visually with shaders. I also had to learn about matrices and how to translate to and from using the inverse matrix. I also learned how to integrate with the Unity render pipeline and how to create shaders with custom inspectors.


Testing different solutions.
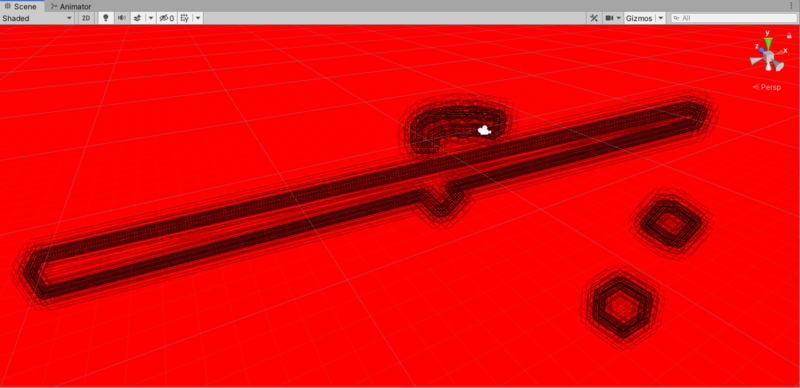
Shader debugging can be weird!
Testing different solutions.


- Team member:
- Oliver Vejen
View my other projects.
Featured Education